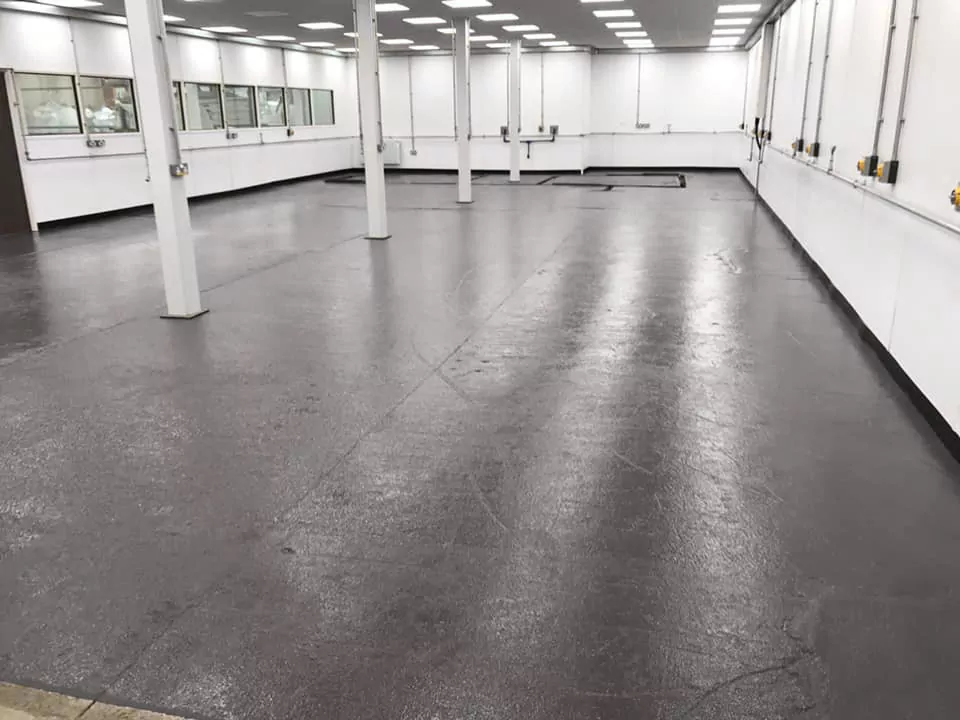
Transform a gray concrete garage into an eye-catching and vibrant space by purchasing some floor paint. From various hues, including those featuring color flakes that you can scatter around to create eye-catching patterns, there’s sure to be one or more that’s the perfect complement to the hue of the surrounding walls.
Before beginning painting, carefully read through and follow all product instructions. Some require acid washing in order to eliminate alkalines that might prevent proper adhesion of paint.
Clean the Floor
Before applying any concrete paint, it’s essential to thoroughly clean the floor. Dirt and debris on its surface could cause the coating to peel or flake off later, leading to unwanted surprises!
Use nonabrasive scrub brushes and cleaners specifically designed to clean concrete floors. Harsher cleaning products could cause irreparable damage, so be mindful not to scratch or stain its surface.
If your concrete is old or heavily stained, chemical treatment may be necessary to restore its surface. A mild acid or muriatic solution can help remove existing stains while helping prevent further ones from appearing; additionally, you can etch its texture for smoothness.
Prime the Floor
Your choice of concrete floor paint may require priming to ensure proper adhesion; others are self-priming and can be directly applied onto bare concrete. Always conduct a moisture test prior to painting your floor as excess moisture can migrate onto its surface, lifting paint layers off of concrete surfaces, and potentially leading to mildew and mold growth.
No matter whether you’re updating an industrial garage or making your home office cozier, concrete floor paint can transform an uninviting area into something warmer, cleaner, and inviting – plus it’s easy to maintain!
Apply the First Coat
DIYers sometimes neglect this step, yet it is essential for the success of their project. Any moisture left in concrete could lift paint or bubble it altogether as well as cause mold or mildew growth if left undetected.
Apply a coat of paint using either a roller or brush; drying time could take up to one week before your new floor can be walked on safely, so make sure there is adequate ventilation by keeping fans and windows open.
Concrete floor paint can add personality and transform a space quickly, from turning an industrial space into an inviting home to simply updating your garage or workshop. It is an effortless way of injecting some character and life into any environment.
Apply the Second Coat
Before applying the second coat of paint to your concrete floor, be sure to conduct a comprehensive cleaning process. Start by sweeping away dust and dirt before using bleach/water or degreaser scrub pads on it for deep scrubbing action. Finally, rinse it all away using clean water from a hose/pressure washer to complete this final step in its preparation for painting.
Once the floor has completely dried, sealant must be applied to prevent moisture seepage that could lift paint or allow mold, mildew or algae growth. This step is essential in order to preserve its aesthetics as well as keep mold, mildew or algae at bay.
Most paints require two coats for best results, although there are products with primer/finish combined in one bottle that eliminate this step of application. When painting concrete floors with paint, use a long handled roller to apply in even layers for optimal results.
Apply the Third Coat
Most concrete floor paints typically require two coats for optimal results, although there are some brands that combine paint and primer into one product, simplifying the process and saving time. When shopping around for an all-in-one product tailored specifically towards concrete, make sure it includes specific formulas tailored towards yielding maximum success.
Before undertaking a concrete project, it’s vital to conduct a moisture test. Any remaining moisture can migrate to the surface and lift off paint or even cause mold and mildew growth; using a concrete sealant protects this surface from moisture vapor intrusion.
Apply the Fourth Coat
Concrete is a porous material that absorbs liquids quickly, including paint spills. To keep a spill from turning into an eyesore on your floor, be sure to clean it immediately after its occurred.
An effective cleaning solution combining water and vinegar works best for removing oil-based paint. Vinegar can even help in the case of stubborn stubborn spots like mold growth on wood surfaces.
If you don’t have access to TSP alternatives, try using a chemical paint stripper instead. These products contain ingredients like benzyl alcohol and glycol acid that dissolve the paint for easy removal. Be sure to wear protective gear when working with these substances, and follow all manufacturer’s instructions when dealing with chemical materials.
Apply the Fifth Coat
Painting concrete floors is an easy DIY project that almost anyone can tackle, though for best results it is essential to follow the professional processes used by experts.
Before painting your floor, it is necessary to thoroughly clean it first. This includes removing any oil, grease or contaminants by either hosing down the surface or using an industrial strength degreaser.
Be mindful that if your floor was painted prior to 1978, it may contain lead paint. In such an instance, special stripper must be used and all waste must be properly disposed. Furthermore, an appropriate moisture test must also be conducted as any lingering moisture could lift paint or cause mold and mildew growth.


More Stories
Home Resilience Hubs: Preparing Your Space for Climate and Supply Chain Disruptions
Mycelium and My Home: Emerging Fungal-Based Materials for Furniture and Finishes
Home as a Biophilic Sanctuary: Integrating Non-Toxic Plants and Natural Systems